If your iPhone camera starts shaking or making strange buzzing noises, you’re not imagining things. I know how frustrating and even worrying this can be, especially when you just want to capture a clear photo. You’re definitely not alone—this is a common problem for many iPhone users, and the good news is most causes can be fixed at home without any special skills or tools.
In this guide, you’ll find safe, step-by-step fixes that address both simple and tricky reasons behind the shaking and noise. I’ll show you which solutions are easy for beginners, which ones are risk-free, and when it’s time to consider professional help. My goal is to help you restore your iPhone camera’s performance with confidence, using only proven methods that protect your device and your data.
Why Is Your iPhone Camera Shaking or Making Noise?
If your iPhone camera suddenly starts to shake, vibrate, or make a buzzing sound, it can feel alarming. Before you jump to the worst-case scenario, it helps to understand the real reasons behind this issue. Both new and older models, from an iPhone 6 Plus to the latest iPhone 15 Pro Max, can experience these symptoms. Often, the cause comes down to a short list of hardware or software problems that can often be fixed at home.
Let’s break down the main reasons your camera may be acting up, so you can better target your solution.
Common Hardware Causes
Sometimes, the issue is mechanical or physical. Here are the top culprits:
- Optical Image Stabilization (OIS) Failure: Most iPhones use OIS to reduce blur from hand movement. If the OIS hardware malfunctions, it can cause the camera to shake or buzz, especially when you open the Camera app.
- Loose or Damaged Components: If your phone has been dropped, internal parts around the camera may be loose or damaged, leading to vibration or rattling.
- Magnetic Interference: Internal metal shielding or nearby magnets can disrupt the stabilizer, causing visible shaking or a clicking noise.
- Dirt or Debris: Dust, lint, or even tiny metal fragments can get caught around the camera lens or OIS mechanism. This may interfere with focus and create a trembling effect.
- Water or Corrosion Damage: Moisture inside the camera module (from spills or high humidity) can lead to corrosion, which sometimes causes buzzing or mechanical failure.
If you hear a soft rattle when the phone is off or the camera app is closed, that’s usually normal. The OIS mechanism floats freely when it’s not powered.
Typical Software Causes
Not every camera problem is hardware-related. Software glitches are just as common, especially after a recent iOS update:
- iOS Update Bugs: After updating to a new version like iOS 17 or iOS 18, some users notice camera instability due to bugs or failed calibration routines.
- Glitchy Camera App: Rarely, the Camera app can freeze or crash, confusing the OIS system and leading to shaking or odd noises.
- System Corruption: Temporary file corruption or settings errors may affect camera performance and stabilization.
- App Conflicts: Third-party camera or social media apps with camera access can sometimes cause conflicts, especially if they try to use advanced features like stabilization or autofocus.
How to Recognize the Cause
To figure out if your iPhone’s camera shaking or noise is caused by a hardware or software problem, try these quick checks:
- Did the issue start after a drop or exposure to liquid? It’s likely hardware.
- Did it appear right after an iOS update or app install? It’s probably software.
- Does the problem only happen in certain apps? That points to software or app conflicts.
- Does cleaning the lens or restarting the phone help? If yes, the issue might be simple and fixable at home.
When to Worry
- Persistent shaking, loud buzzing, or blurred photos even after a restart often means a hardware issue.
- If your iPhone is still under warranty or AppleCare, it’s safest to have a technician check for internal damage or OIS failure.
- Never try to pry open the camera module yourself, as this can void your warranty and potentially cause more damage.
Understanding the real reasons behind iPhone camera shaking and noise is the first step to fixing it. In the next section, you’ll learn step-by-step solutions you can try at home, without risking your phone’s health or your hard-earned money.
Quick Checks Before You Try Fixes
Before you roll up your sleeves and dive into specific solutions for a shaky iPhone camera with noise, it’s smart to run through a quick checklist. Sometimes, what looks like a major problem is actually something minor that you can resolve in minutes. By starting with these easy checks, you can save yourself time and possibly avoid unnecessary repairs.
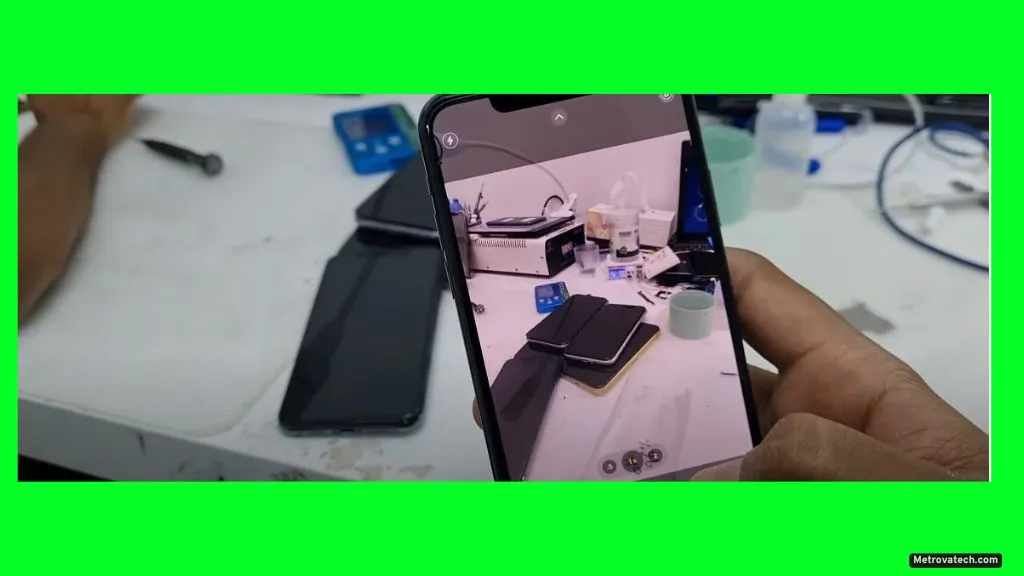
Inspect the Camera Lens
A dirty or smudged lens can easily mimic the symptoms of camera shake or focus issues.
- Use a clean microfiber cloth to gently wipe the camera lens. Avoid using paper towels or rough fabric, which could scratch the glass.
- Check for dust, fingerprints, or debris. Even a small speck can confuse the autofocus or stabilization features.
- If you see anything trapped inside the lens or notice the lens is misaligned, it could be a sign of internal damage.
Remove Magnetic Accessories and Cases
Magnets and certain metal accessories are known troublemakers for iPhone cameras.
- Take off any magnetic phone cases, mounts, or clips. Magnets can interfere with the optical image stabilization (OIS) motor, causing both shaking and buzzing noises.
- Make sure your phone isn’t sitting near strong magnets or speakers.
Restart Your iPhone
Many camera issues clear up with a simple restart.
- Turn your iPhone off and back on. This shuts down background processes that could be causing the camera to behave oddly.
- Test the camera right after restarting to see if the problem is still there.
Check for iOS Updates
Apple regularly rolls out updates that fix bugs and improve camera performance.
- Go to Settings > General > Software Update and install any available updates.
- After updating, open the camera and check if the shaking or noise is gone.
- Keeping your iOS version current helps rule out software glitches.
Test in Different Apps
Sometimes, the problem is with a specific app, not the camera itself.
- Open the default Camera app and see if the shaking or noise happens there.
- Try other apps that use the camera, like FaceTime or Instagram.
- If the issue only shows up in one app, that app could be the culprit and may need an update or reinstallation.
Listen and Observe
Pay close attention to the noise and shaking pattern.
- Is the noise a faint buzz, a clicking, or a rattling sound?
- Does it happen as soon as you open the Camera app, or only when focusing?
- Noticing when and how the problem appears helps pinpoint whether you’re dealing with a software bug or hardware trouble.
Look for Signs of Damage
If your phone has taken a recent fall or has been exposed to moisture, check for subtle clues:
- Any new dents, cracks, or discoloration around the lens area?
- Foggy spots under the lens (could indicate moisture inside the module)?
- Does the issue coincide with other problems like a blurry selfie camera or microphone trouble?
Running through these quick checks gives you a clear starting point. If your camera is still shaking or making noise after this, you’ll know it’s time to try more in-depth solutions.
Read also.